
Drawstrings on your leggings?
Would you like to add a waistband drawstring or maybe a hidden elastic to your Aila leggings? It’s actually fairly easy to do if you just use the right techniques for sewing buttonholes on stretchy knits. In this tutorial, I’ll guide you through all the steps that will give you excellent results and very professional looking drawstrings on leggings.
Would you rather add eyelets than sewing buttonholes? You can check out my attaching eyelet on knits tutorial for best practises but I would not reccommend using eyelets on super stretchy activewear fabrics, as it’s hard to 100% prevent them from popping. Hence why you’ll see that most activewear brands use a buttonhole stitch rather than eyelets on leggings.
This post contains Amazon affiliate links, meaning that a commission is earned from qualifying purchases.
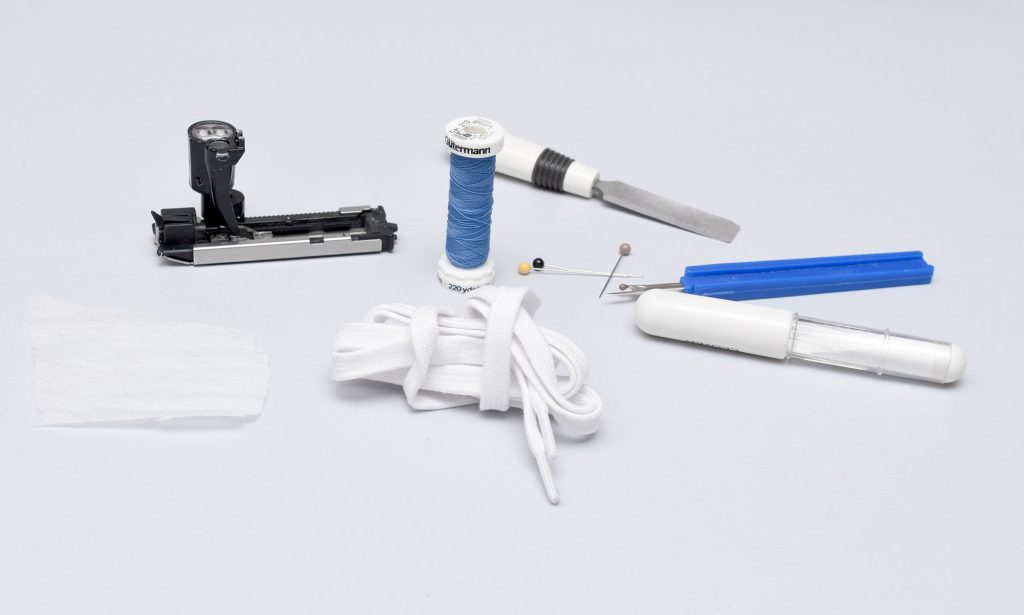
Tools required for adding drawstrings to a leggings waistband
- Drawstring (I used a flat shoelace, but do try finding a thin one, since mine was a bit thick and was visible through the fabric) or elastic.
- Fusible interfacing (it should be thin and only stretch in one direction, see my guide to knit interfacings)
- Marking pens (the white Clover Chaco liner* works well on stretchy fabrics)
- Pins (also used for marking)
- A buttonhole presser foot (I’m using the automatic for my Bernina, but a manual works too)
- Regular sewing thread
- A buttonhole cutter or seam ripper
- Stretch ballpoint needles (I recommend Stretch by Schmetz* and Super Stretch by Organ*
*Amazon affiliate links
Learn more: Best Fabric Choices for Workout Leggings: Aila Sew-Along
Tutorial overview for sewing drawstrings on a waistband
In this tutorial, you’ll stitch two vertical buttonholes on the front waistband. Vertical is usually a better choice when doing buttonholes on knits since the fabric normally has less stretch in that direction
I’m doing the buttonholes on the outer waistband, but you can of course also sew them on the inner waistband for a hidden drawstring or elastic application. To make this as easy as possible, sew the buttonholes before you start sewing together the waistband pieces.
Also, always do samples first on your chosen fabrics, since sewing buttonholes on 4-way stretchy knits is harder than those done on a woven, so you need to test the settings before sewing them on the actual garment
Step-by-step tutorial for sewing drawstrings to a leggings waistband
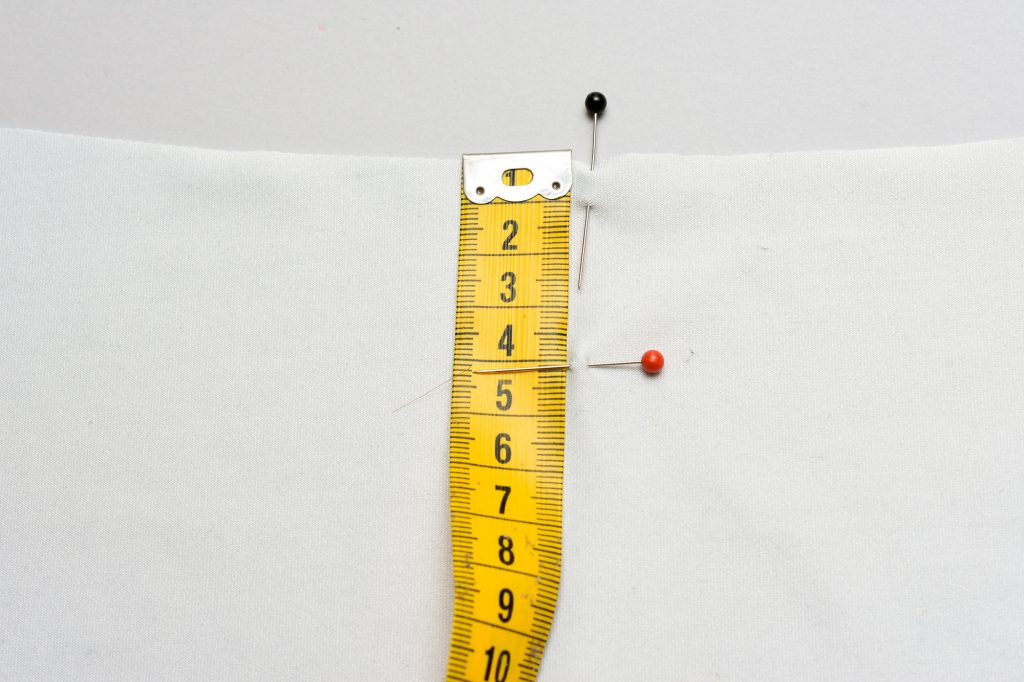
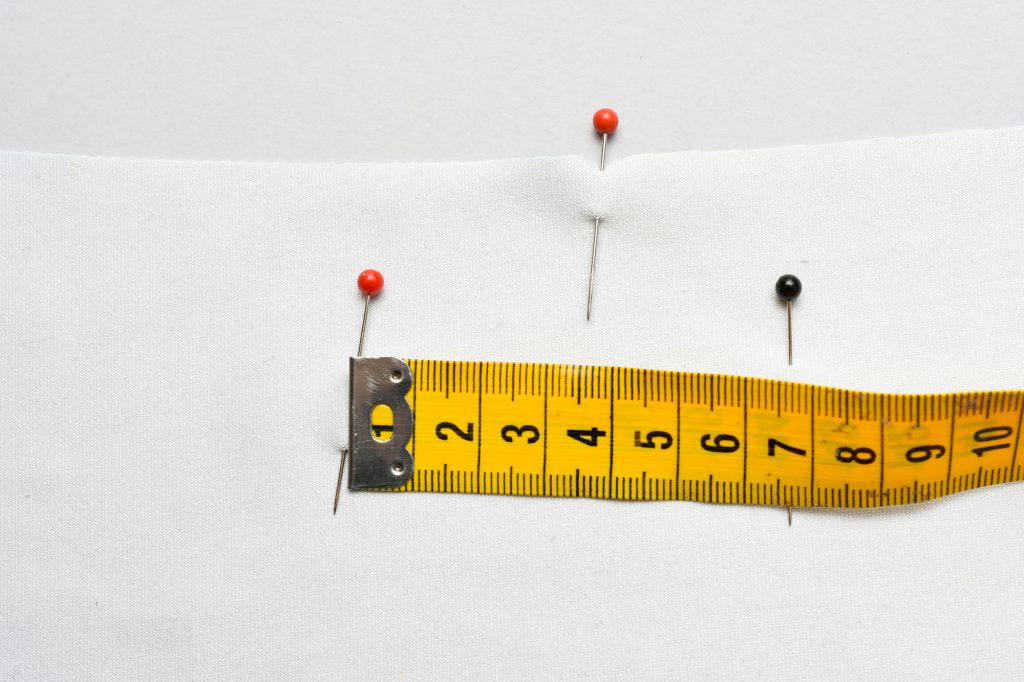
1. Mark the placement of the interfacing on the waistband piece
Start by placing a pin at the top mid front. Then place two pins on the opposite side at the height you want the strings. I’m placing the buttonholes 4.5 cm (almost 2 inches) apart, so the interfacing scrap needs to be a bit wider, I cut the interfacing around 6.5 cm wide and 4 cm long
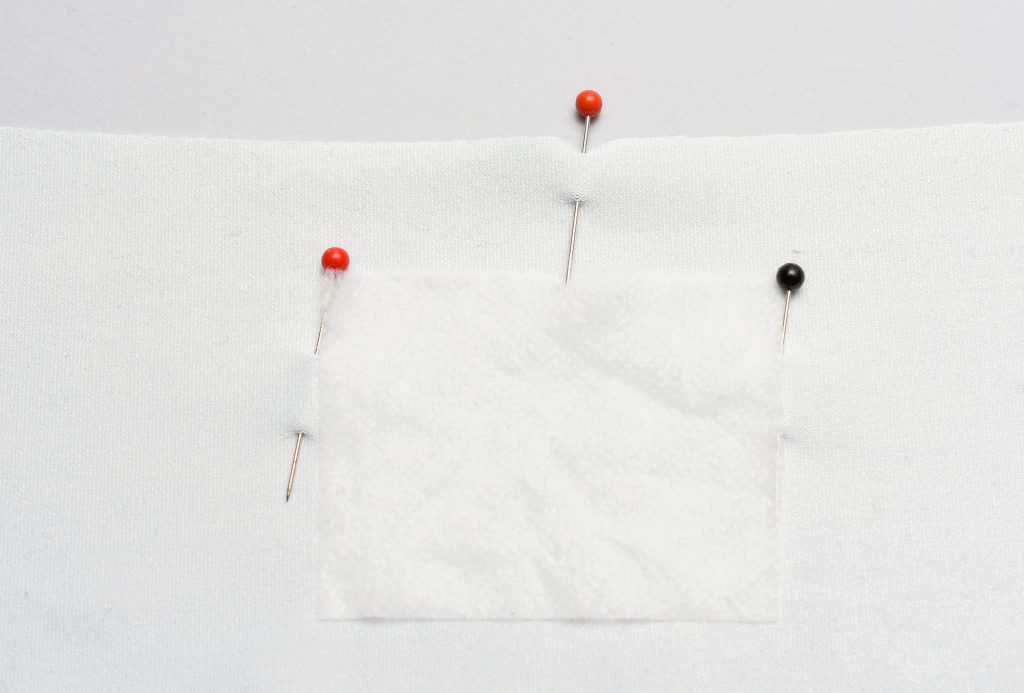
2. Place the interfacing between the pins and fuse
Place the interfacing on the reverse side of the waistband piece. The stretchy direction of the interfacing should be crosswise so that the fabric can still be stretched out after it’s interfaced.
Fuse at a low temperature when working on synthetic knits and let it really set before start working on the buttonholes. Getting the fusing right is another reason why it’s important to do samples when doing buttonholes on stretchy synthetic knits!
Learn more: How to Hem Leggings
3. Mark the buttonholes on the reverse side
Since marking and tracing on synthetic knits is kinda hard, we’ll start by marking the placement of the buttonholes on the reverse side, tracing on the interfacing. You can skip this step if the fabric is easy to work with, but I prefer this method as it gives me more control.
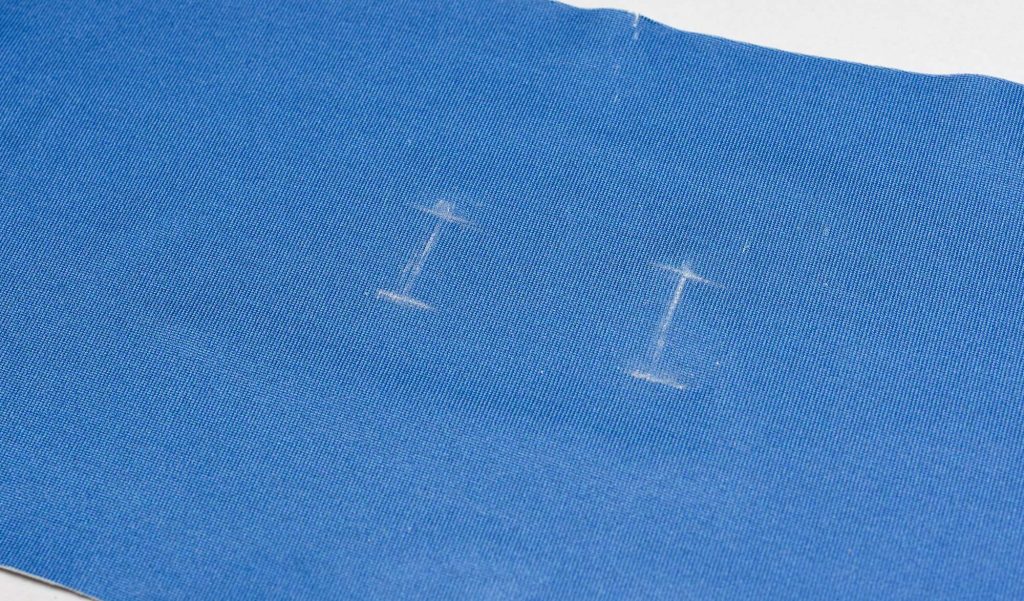
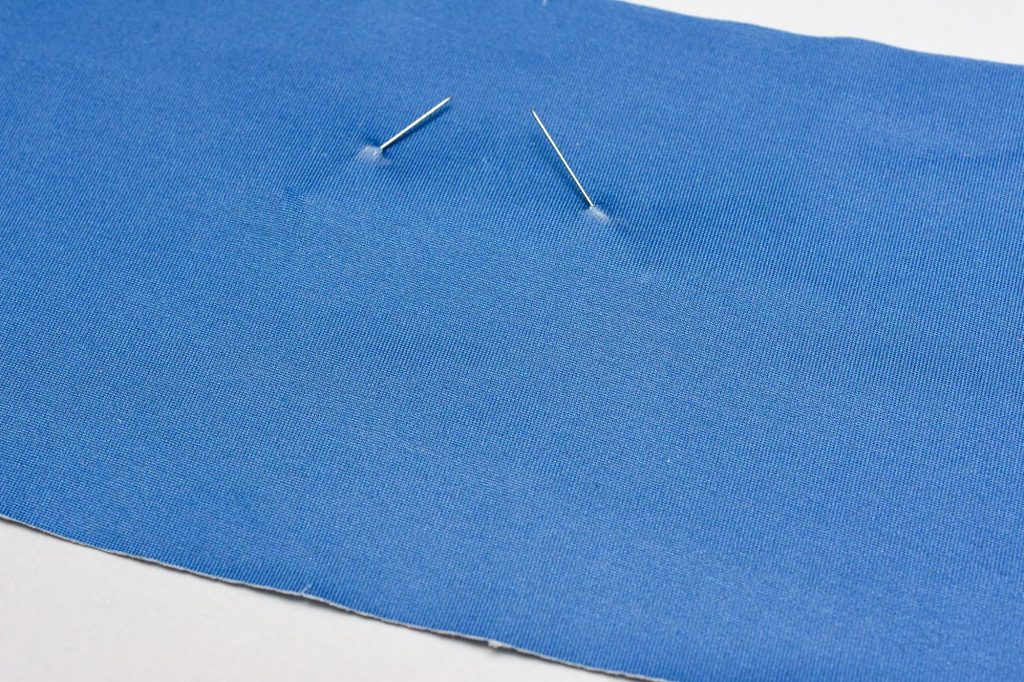
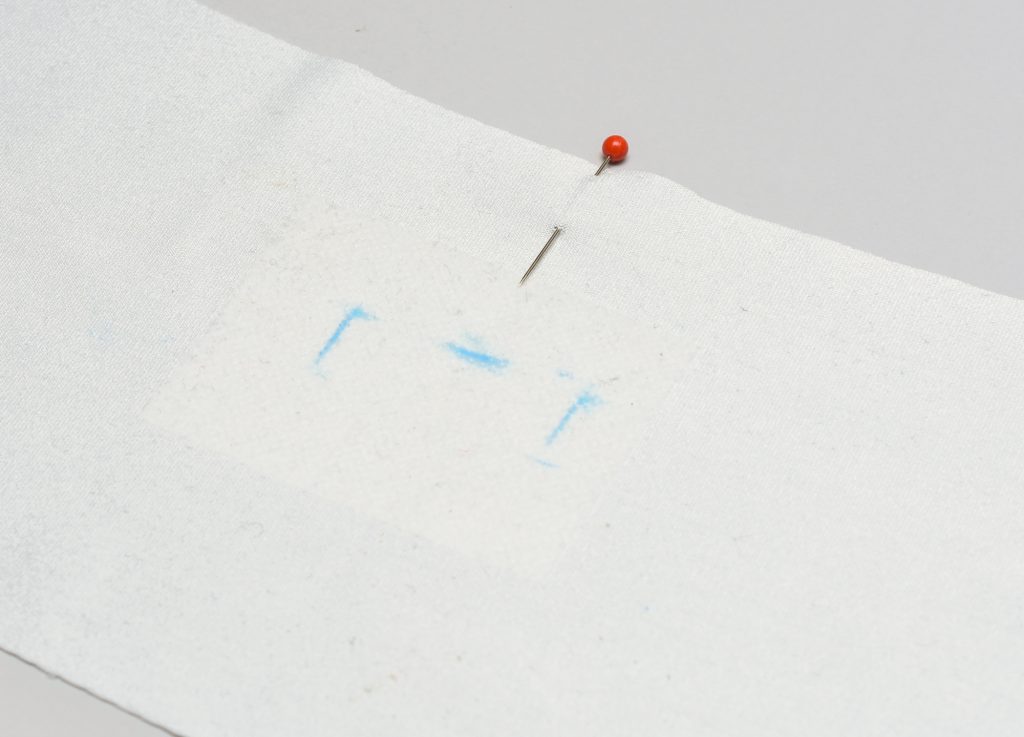
4. Transfer the markings to the right side
Push pins through the fabric where the buttonholes start and end. Draw lines between those points using a marker that is easy to remove. I’m using the white Clover Chaco Liner here, the white is easy to remove, but the stronger colours such as blue and yellow should be used carefully as they can stick to light fabrics.
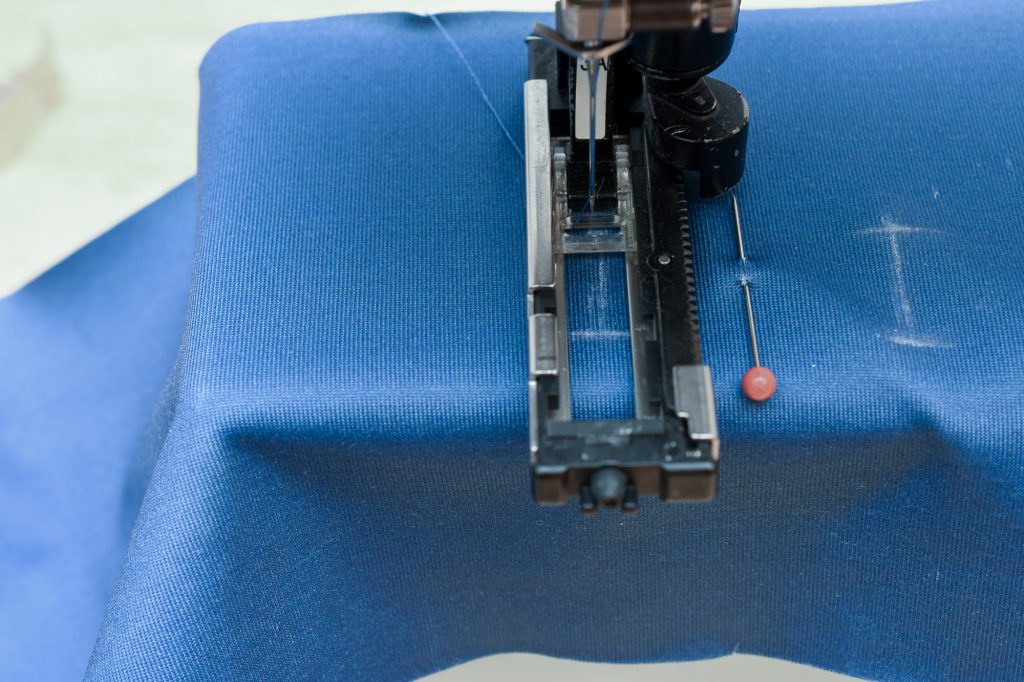
5. Sew the buttonholes
For best result, increase the stitch length, so that the space between the zigzag stitching is larger compared to regular buttonholes. This is because feeding can be an issue when sewing buttonholes, and increasing the stitch length solves this problem. By the way, don’t worry about fraying, you are sewing dense, interfaced knits that don’t unravel so there is no risk associated with increasing the stitch length.
Also, use a stretch ballpoint needle to avoid skipped stitches, if the fabric can handle it, try going up one needle size if you are still experiencing problems with skipped stitches, despite using stretch needles. (Check out my guide to sewing machine needles for knits for more info)
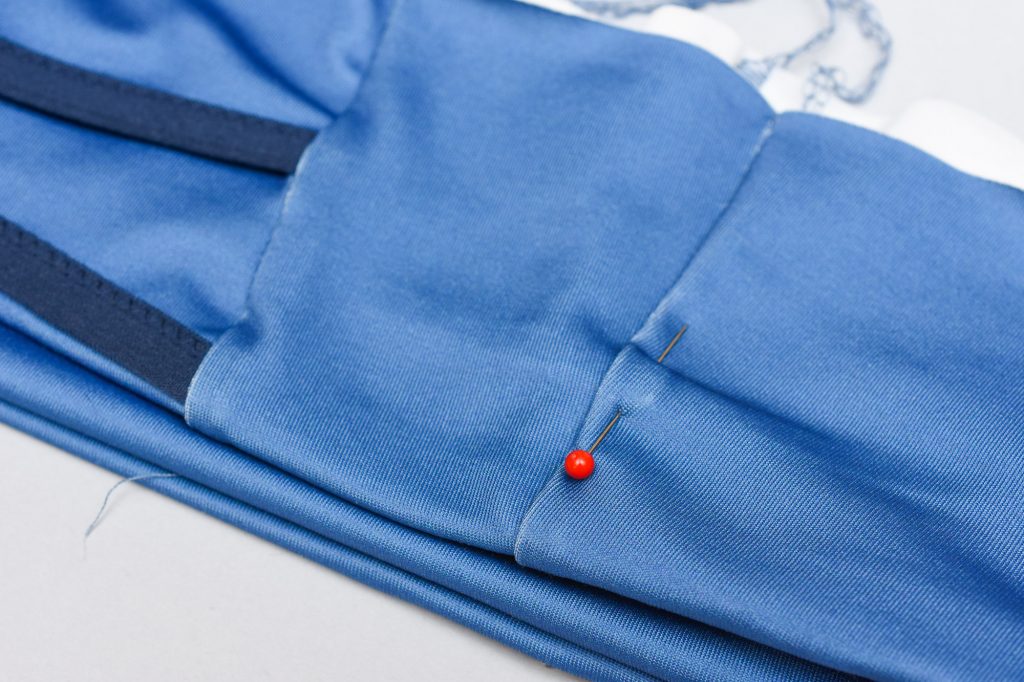
Another tip is to place a pin in between the buttonholes to make gauging and sewing straight easier.
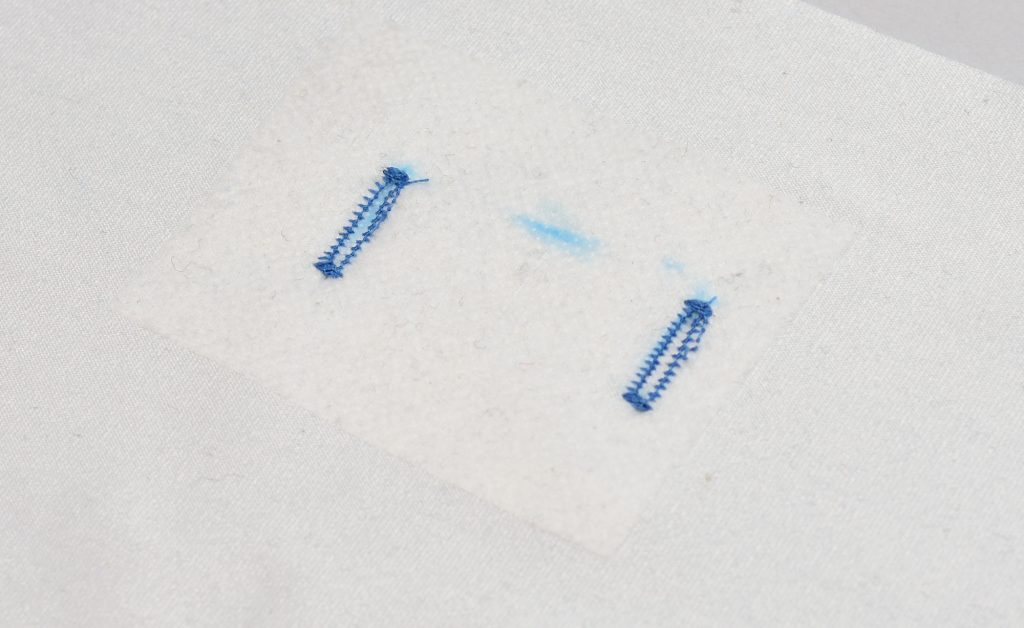
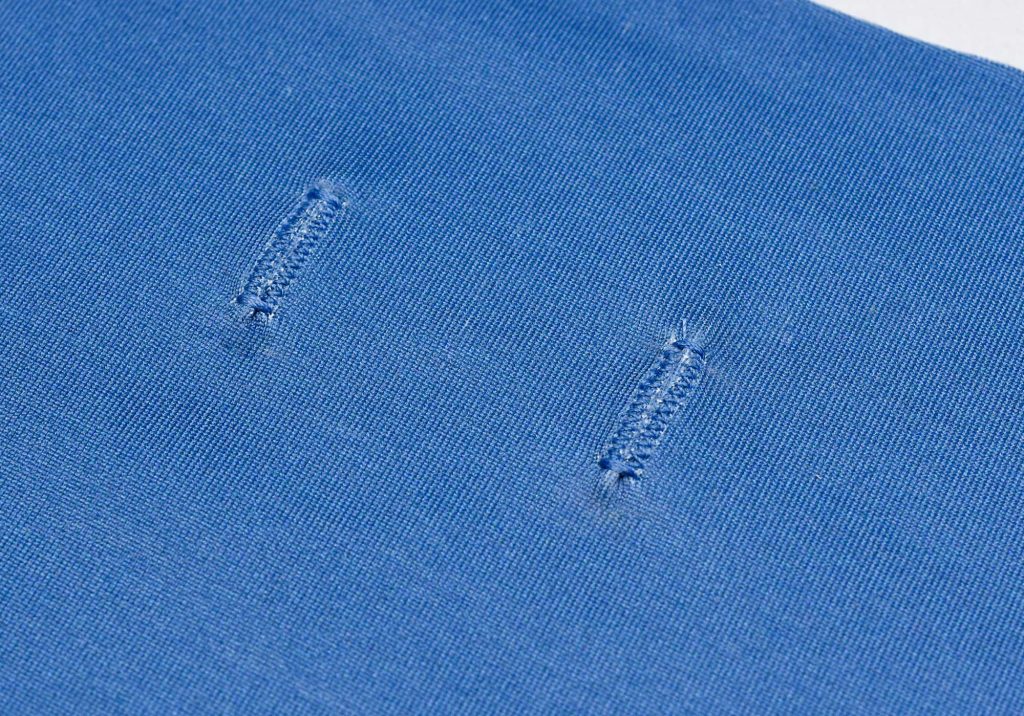
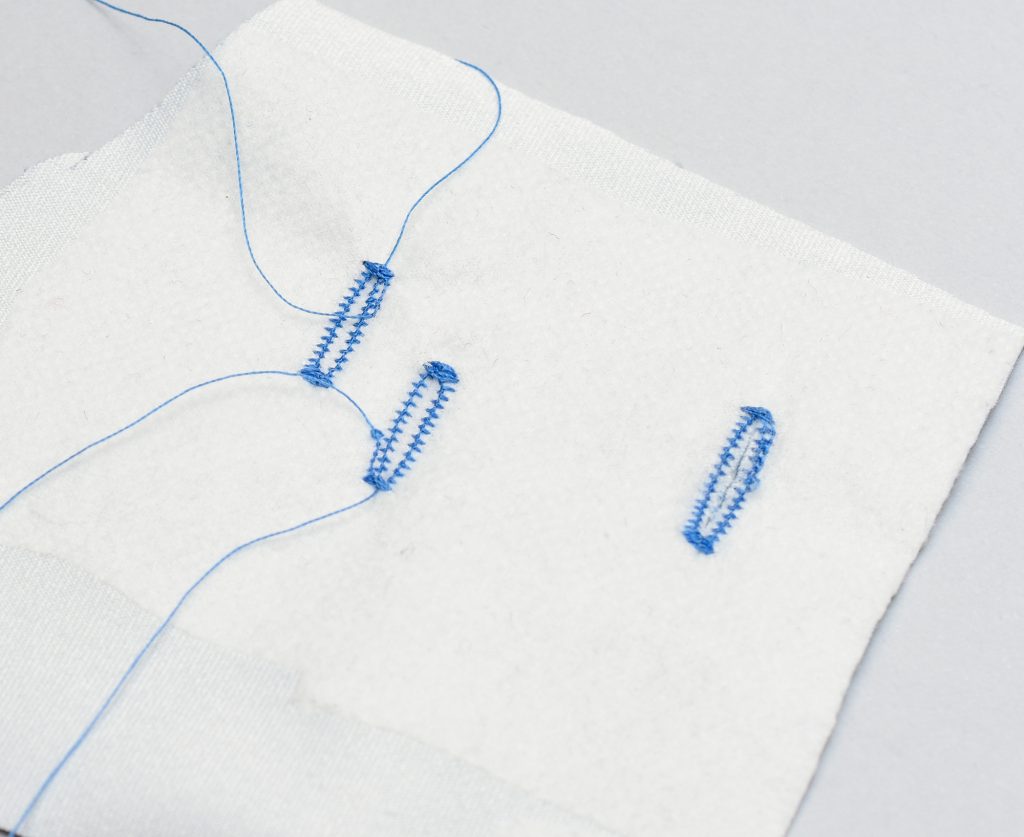
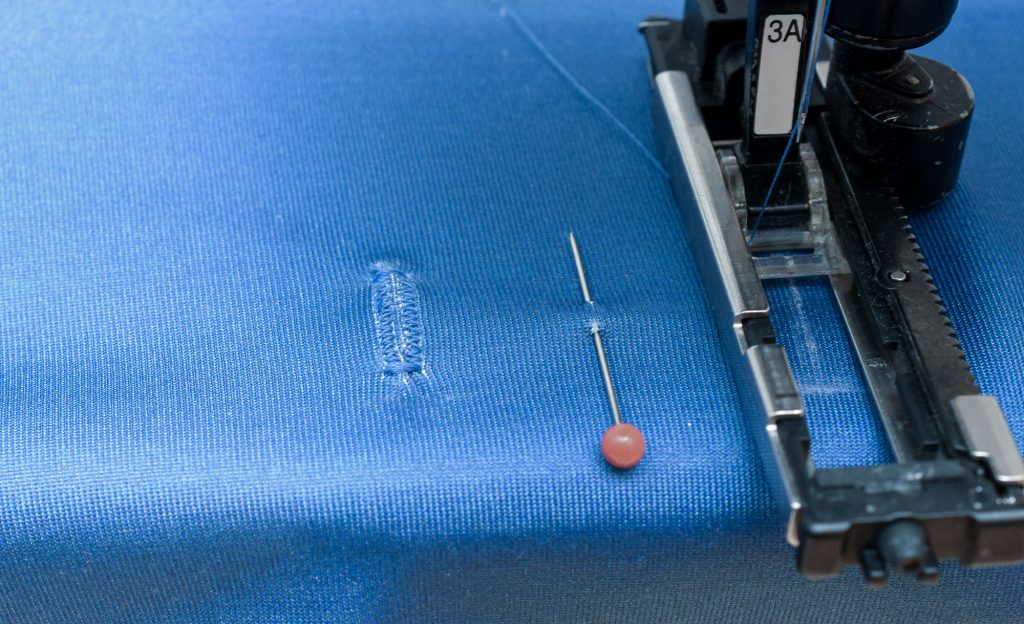
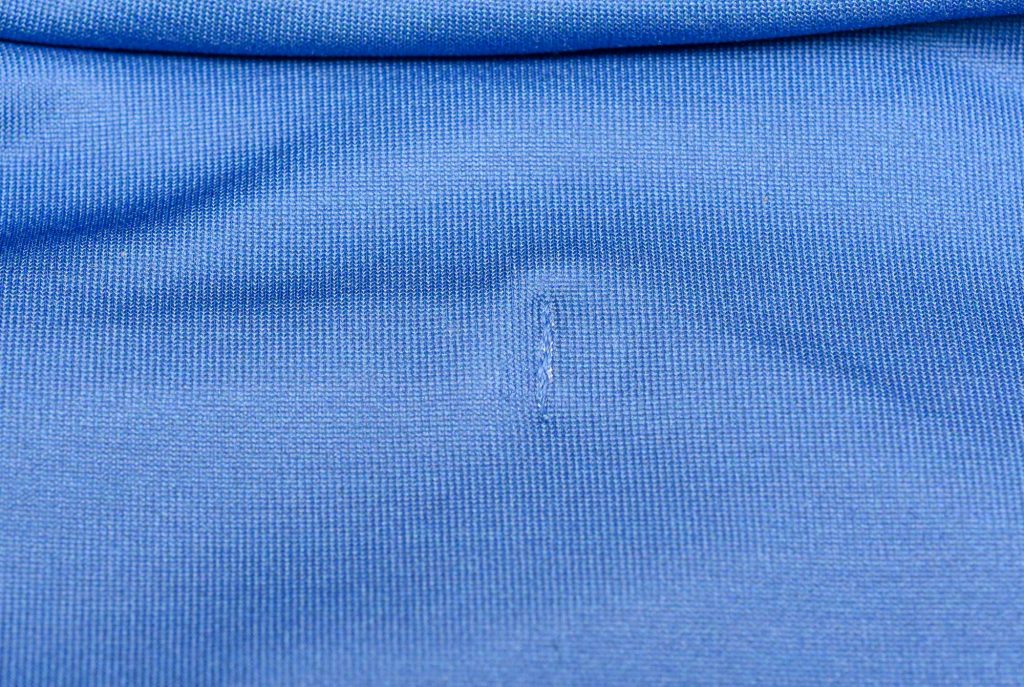
5. The finished buttonholes
Notice the longer stitch length, which is the most noticeable on the reverse side. On the right side, with the thread matching the fabric, you can’t really tell.
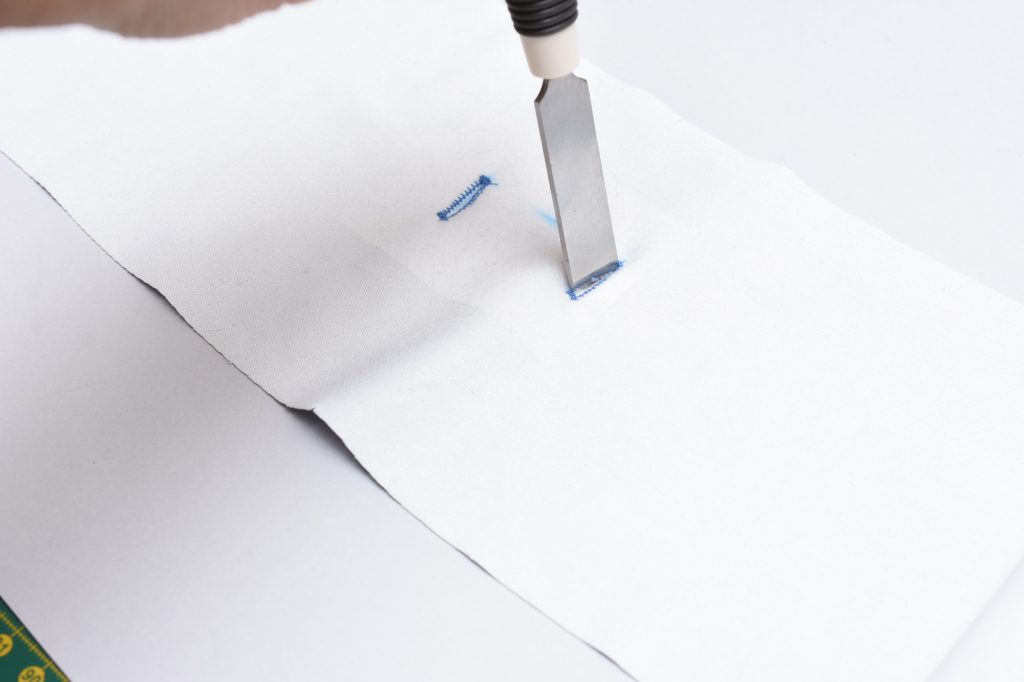
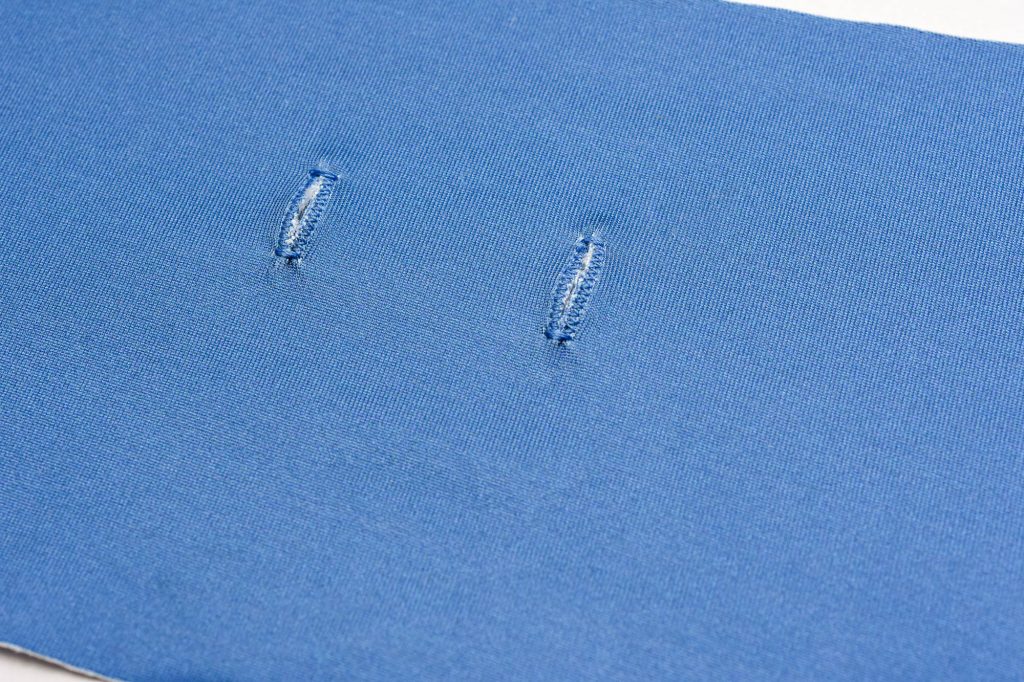
6. Cut open the buttonholes
Use a buttonhole cutter or a sharp seam ripper, since activewear fabric with plenty of Spandex can be kinda dense to cut. As you can see, there is some white showing through, which is because the blue is just printed on top of the white. Normally this would not be an issue since most activewear fabrics (unless they have intricate printing) are made using coloured yarns.
Learn more: Sewing the Leggings Waistband: Aila Sew-Along
7. Sew the waistband
These steps are described in the Aila leggings sewing pattern and of course in my book Sewing Activewear too. Sew the entire waistband, but don’t attach it to the leggings.
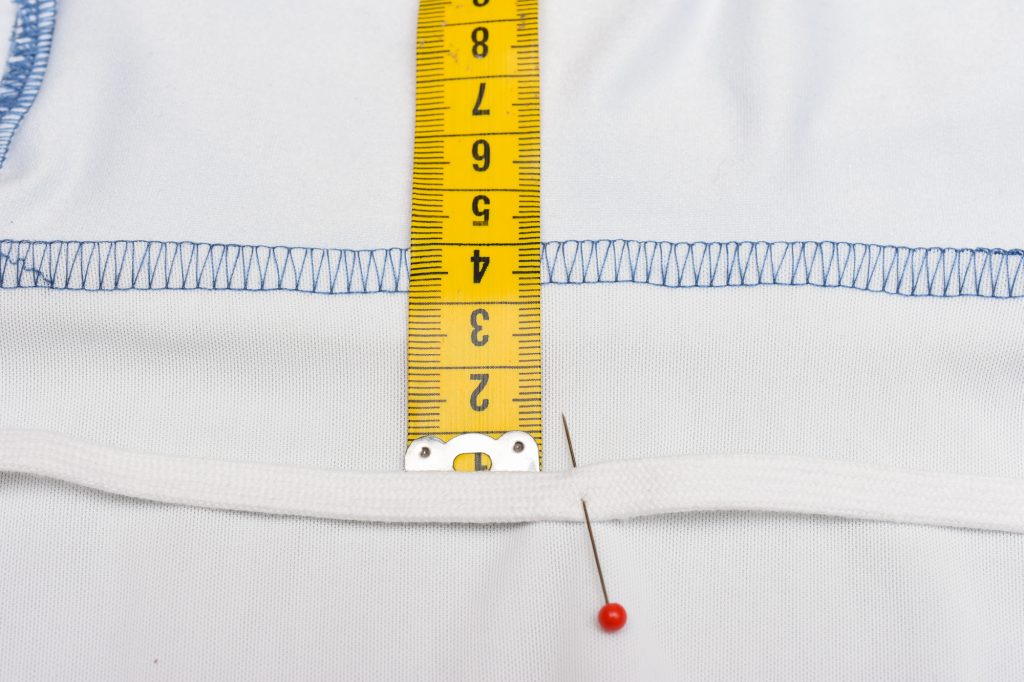
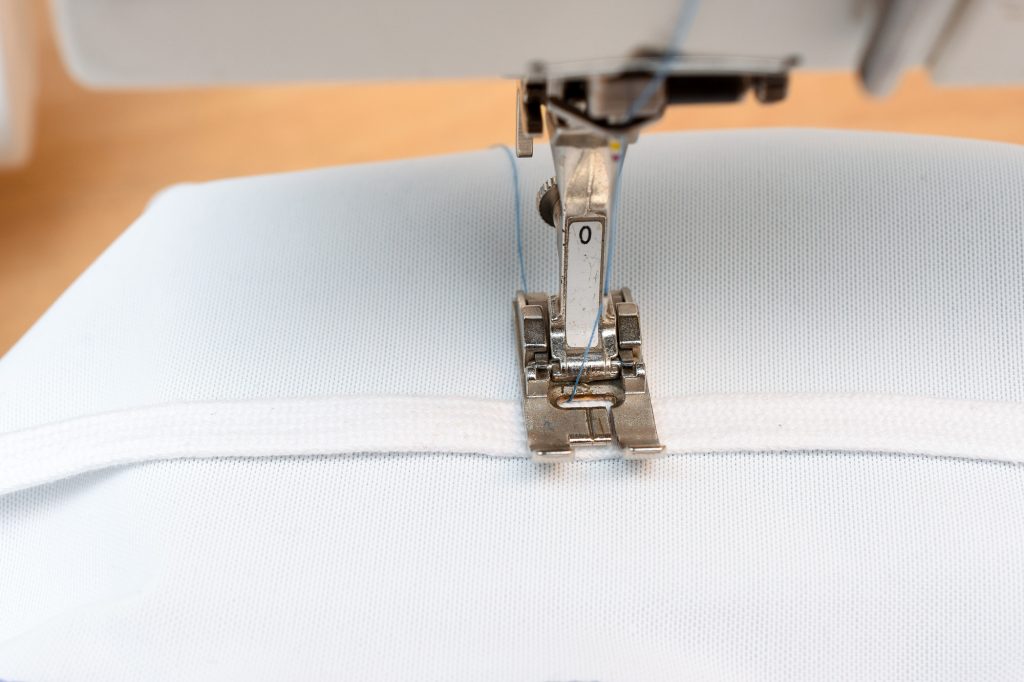
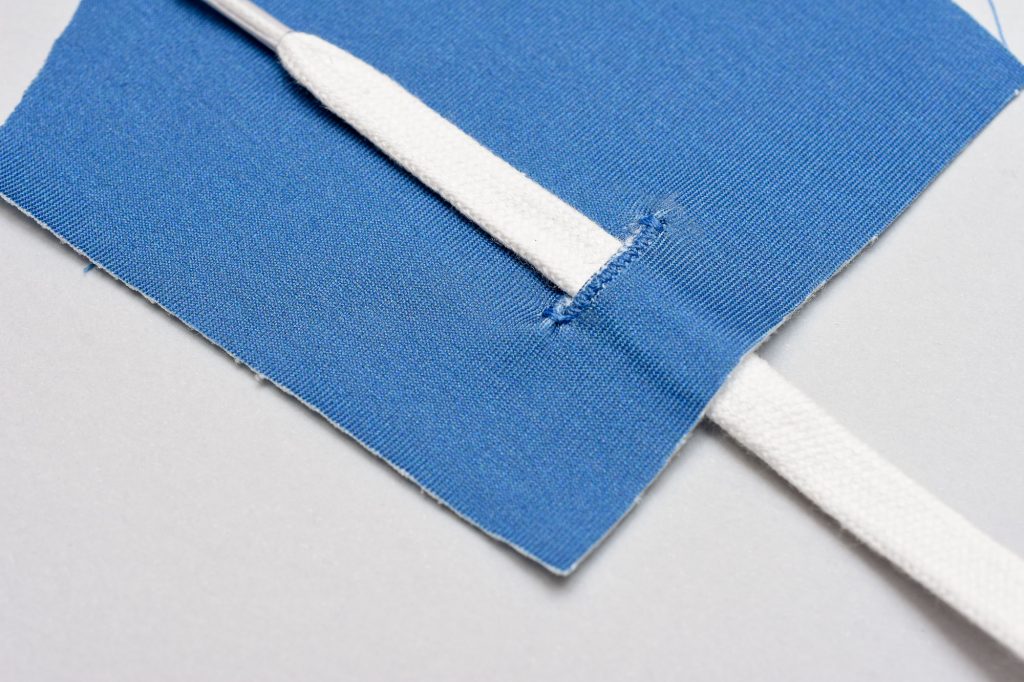
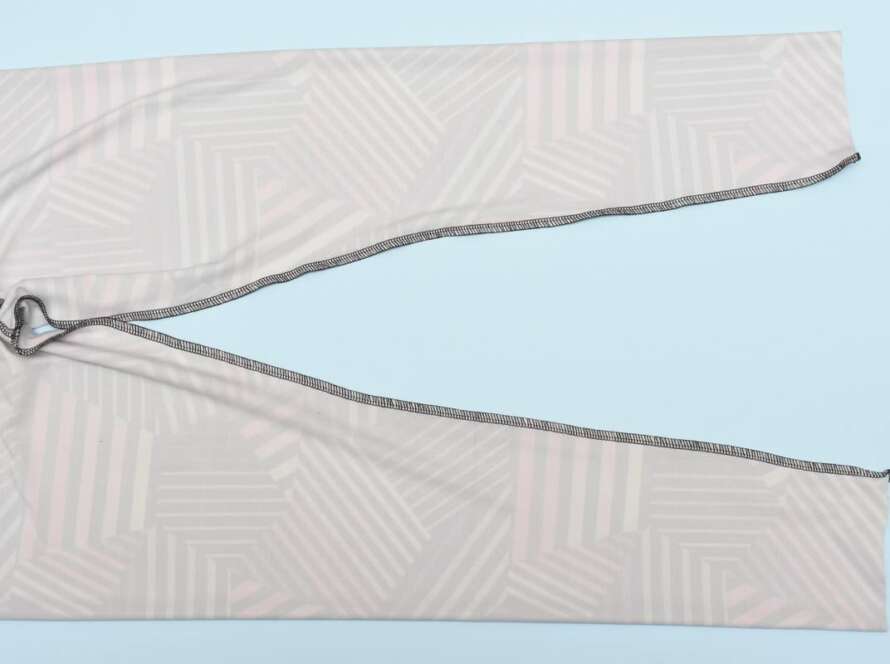
8. Attach the drawstring to the back leggings waistband
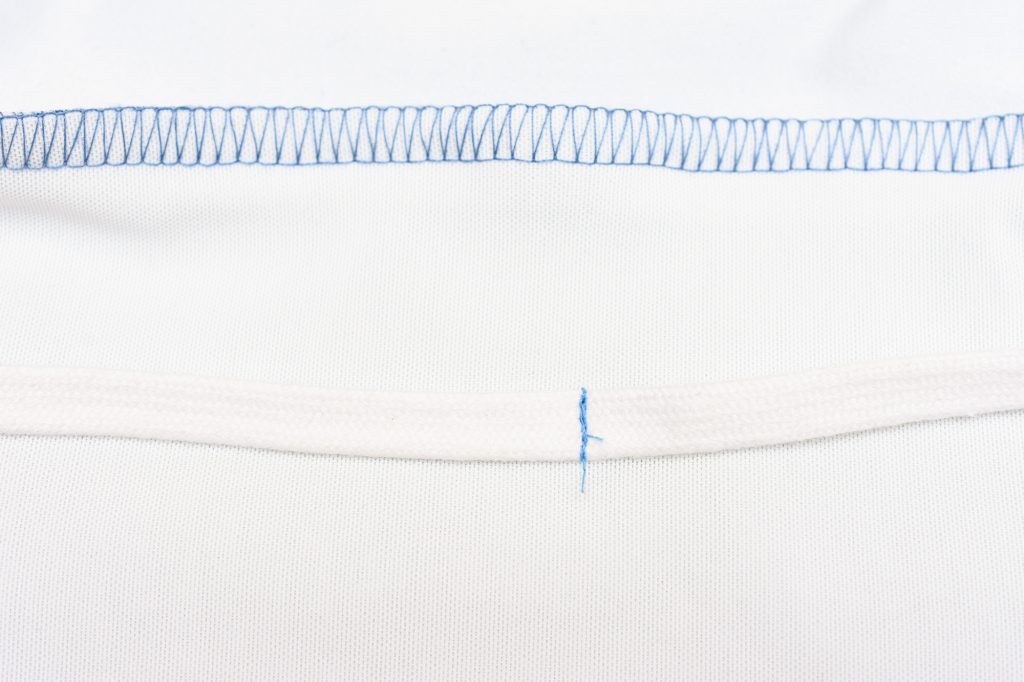
To prevent the drawstring from slipping around inside the waistband, you need to stitch it in place. The most common method is to do a vertical tack stitch on the back waistband, either on the outside or on the inner waistband piece. Here I’m doing it on the inside, to make the stitch more discreet.
Tack the waistband at the same height as the buttonholes.
9 Secure the drawstring in preparation for attaching the waistband to the leggings
Thread the drawstring through the buttonholes, tie a knot and also pin it in place at a couple of spots. This will prevent it from getting caught in the seam when you are attaching the waistband to the leggings.
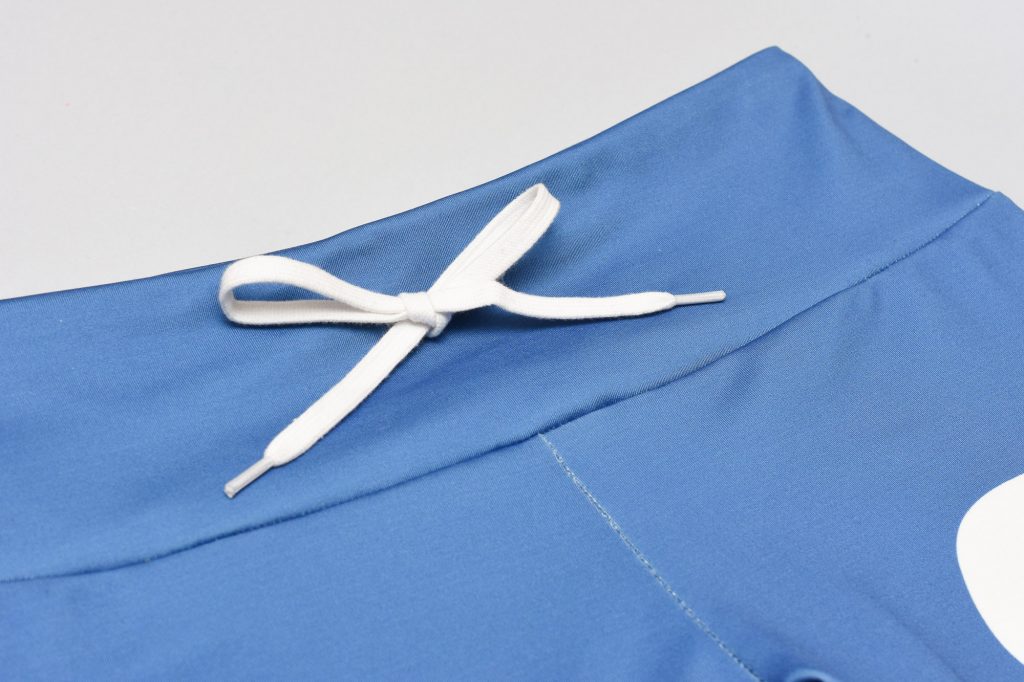
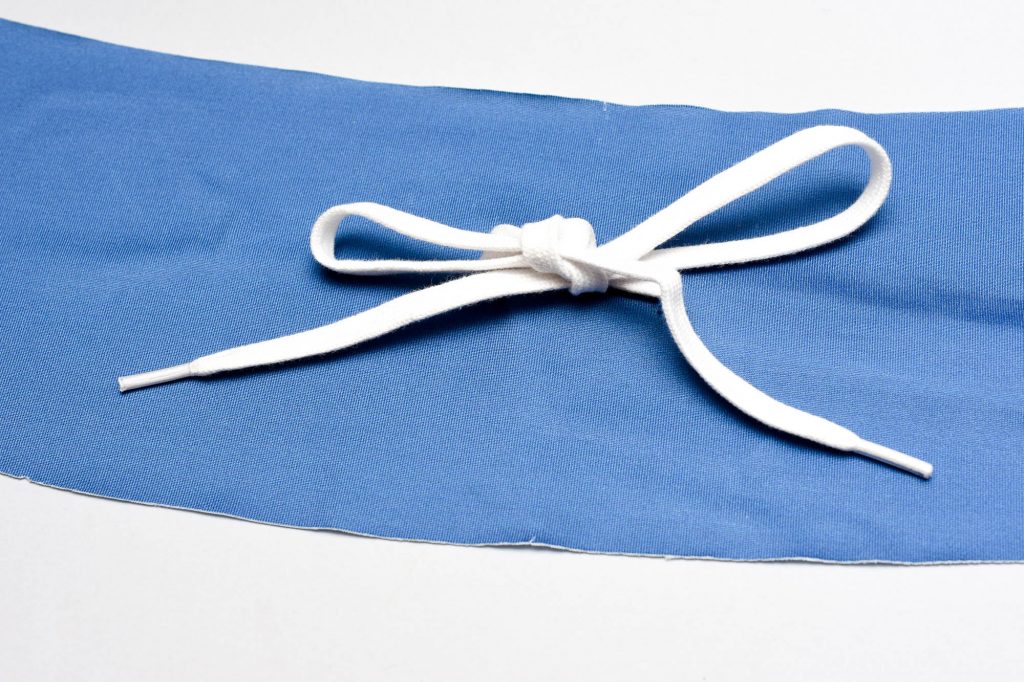
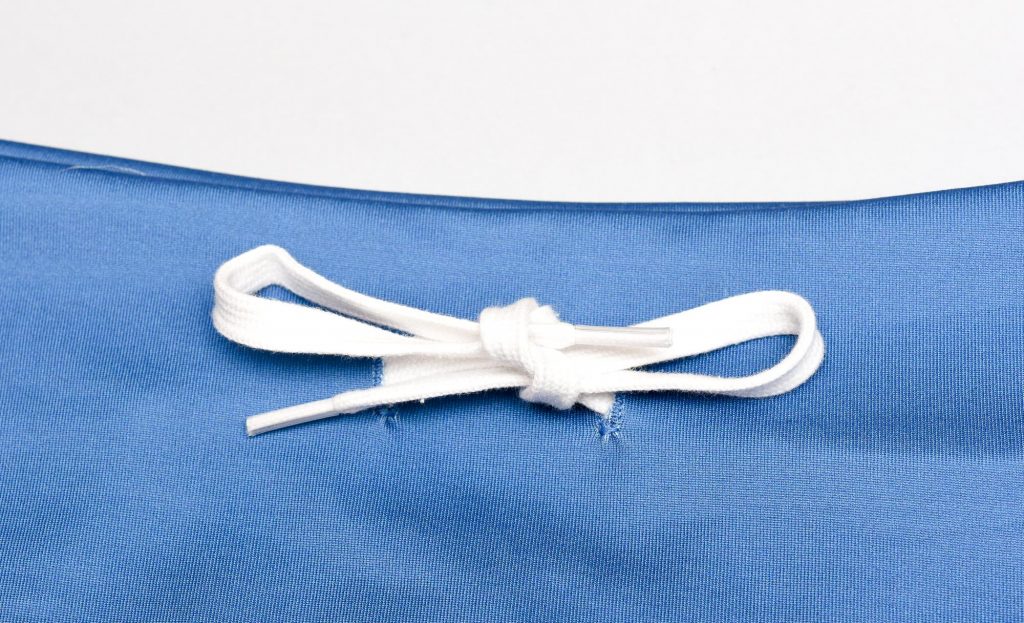
The finished drawstring
It wasn’t too hard, was it? And even if your first set of buttonholes on a super stretchy knit fabric didn’t turn out perfect, don’t fret since the drawstring hides any irregularities.

For a more discreet look when worn, pick a thinner string than I did. Using a darker fabric will also make the contour of the string much less prominent. Another way to hide it is to add underlining the front waistband, I recommend using stretch mesh or power net for this purpose.
Hope you enjoyed this tutorial on sewing drawstrings on leggings! Stay tuned for more tutorials related to sewing the Aila leggings and fun ways to customise them.
Watch this video tutorial for even more sewing leggings tips!

This post contains Amazon affiliate links, meaning that a commission is earned from qualifying purchases.
2 Comments
Leslie
Love your tutorials and I appreciate being able to share your knowledge with our Followers. Thanks again!
Comments are closed.