
In this Aila Sew-Along tutorial, I’ll talk about the best seams for sewing leggings and then show you the full assembly process of how to sew the crotch and inseam. So let’s get started!
A guide to stretch seams for sewing leggings
There are lots of options for seams when it comes to sewing together a pair of leggings. That said, some are better than others, and in this guide, I’ll go through four common seams and their pros and cons.
This post contains Amazon affiliate links, meaning that a commission is earned from qualifying purchases.
4-thread serger overlock
The most common stitch for sewing seams on stretchy knits. It’s very durable and has a good amount stretch. There are a few drawbacks though; since it uses up four threads, the seam can get a bit bulky, especially if you also use a shorter stitch length. It’s also not as stretchy as some of the other serger seam options.
Learn more Video: Sew Your Best Leggings Ever

3-thread serger overlock
This stitch uses only one needle thread and is less bulky than the 4-thread version. It can be sewn both as a wide and a narrow stitch, which makes the seam very versatile. It also has excellent stretch properties, even better than the 4-thread in most cases. The major drawback is when the seam is pulled apart you’ll often see more visible stitches compared to the 4-thread version. That said, the stitch is still very durable.

Sewing machine overlock seam
The most durable sewing machine stretch seam and generally the best choice when sewing stretchy knits on a regular sewing machine. It closely mimics the look and properties of a serger overlock stitch, but it does come with a few disadvantages, it’s a real pain to rip and it can sometimes stretch out the fabric, especially on fabric with a lot of stretch, such as activewear fabrics. Pretty much all sewing machines have variations of this seam, so check your manual to find out which seam to use. It’s often called stretch seam or overlock seam.
Learn More: Best Fabric Choices for Workout Leggings: Aila Sew-Along

Zigzag stitches
If your machine lacks an overlock seam, or you want to use a stitch that’s easier to remove and faster to sew, then pick a zigzag stitch. For leggings, that will be under a lot of stress and pull, I recommend using two rows of zigzag stitching. First, join the garment pieces using a narrow zigzag, then reinforce the seam by sewing a medium zigzag over the seam allowance.

Do the pull test
Before you start sewing your leggings, make sure the seam is up to par. Always do a sample to figure out the best settings and if the stitch is compatible with your chosen fabric. You also need to do a pull test. First pull the seam out as much as you can to make sure it doesn’t break or becomes a wobbly, stretched-out mess.
Secondly, pull the two layers of fabric apart to see how to seam behaves, if there is lots of visible thread and the seam looks a bit iffy, try changing the settings, for instance, decrease the stitch length, make sure the thread is properly placed inside the tension disks, and then test different tension settings.
Learn more: How to Hem Leggings: Aila Sew-Along

Advice about machine needles for knits
It’s super important to use the right needles when sewing Lycra knits. For sewing machines, I recommend Stretch by Schmetz or Super Stretch by Organ (affiliate links), they will prevent both skipped stitches and holes in delicate knit fabrics. For more advice on needles for sewing knit fabrics on any type of machine (sergers, coverstitch and regular machines), check out my post about best needles for sewing knits.

What about those cool flat-lock seams that I see on many RTW activewear garments?
Those are done using an industrial machine, that isn’t available for the domestic market (yet). The good news is that you can mimic those seams either using a serger, just your sewing machine and even a coverstitch machine. Download my free Sewing Activewear Quick Guide to see tutorials for these techniques, or you can get my books Sewing Activewear or Master the Coverstitch Machine to learn even more about how to mimic RTW stretch seams using our home equipment.

Sewing the crotch seams
Leggings, like most knit pants, are sewn on the flat. That means you start by joining the front pieces by sewing the crotch seam. Then you repeat the same thing on the back crotch. Once the crotch seams are sewn, only then do you sew the inseam.

Sew the front crotch seam
Place the two front pieces together, right sides facing. Stitch the center front crotch seam from the reverse side.

Sew the back crotch seam
Place the two back pieces together, right sides facing. Stitch the back crotch seam from the reverse side.

Is there a sew-along for the gusset version of the Aila leggings?
Yes, there is! I already have a very detailed illustrated step-by-step tutorial on sewing the gusset of Aila leggings.

Sew the inseam
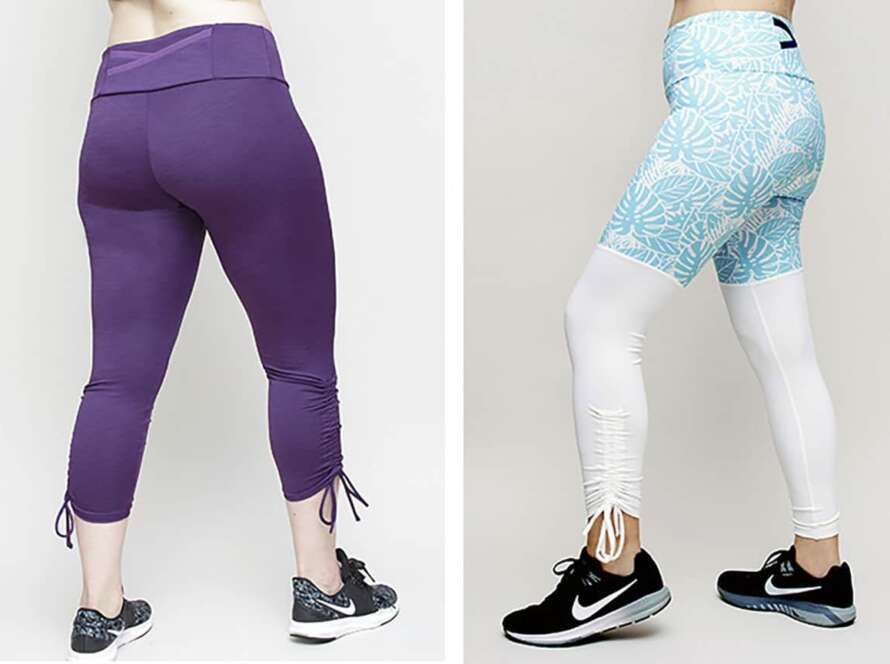
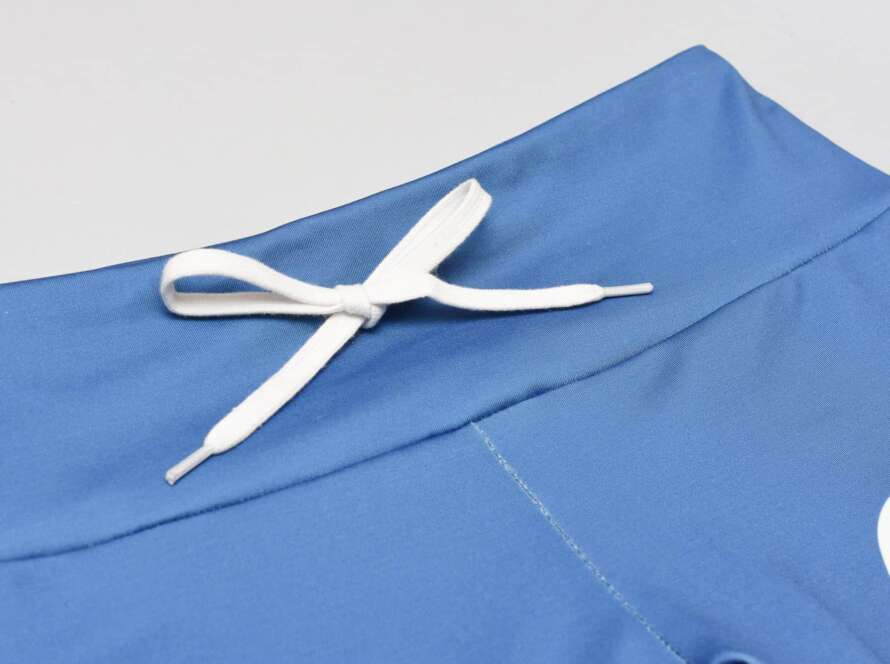
The Aila leggings, like many leggings, only has an inseam to keep the side seams to a minimum. Which is one of the reasons these leggings are quick to make if you stick with the basic version, which is the one I’m doing in this sew-along. BTW, if you want to do the fancier stuff, like colour-blocking, drawstrings or adding a zipper pocket, I have detailed illustrated step-by-step sewing instructions for that in the tutorial booklet that’s is included in when you get the Aila leggings pattern.
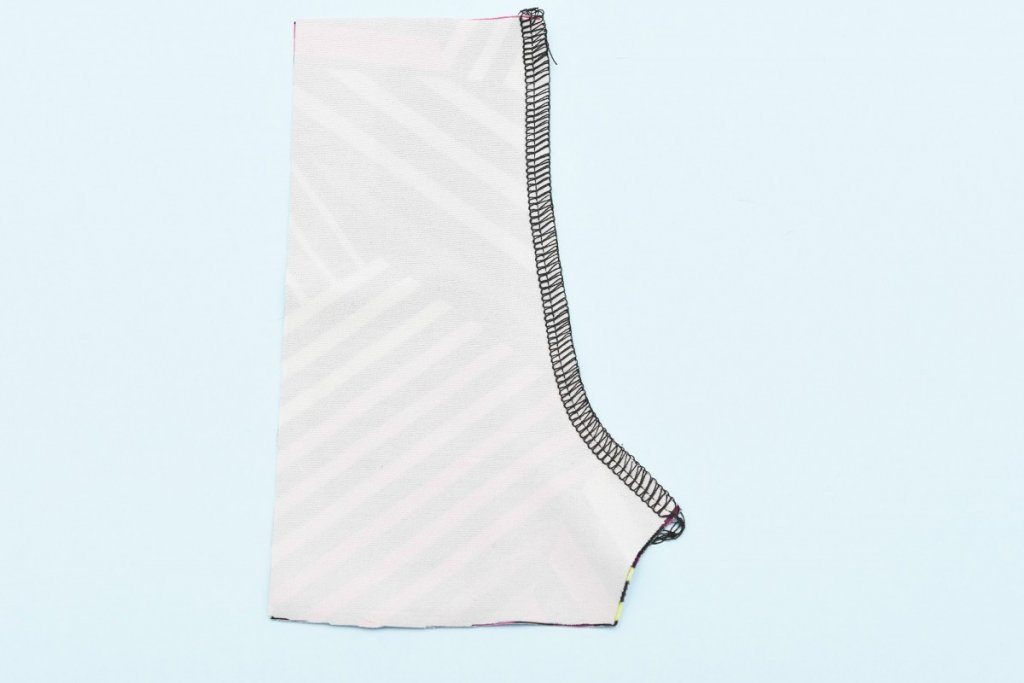
Prepare for sewing the inseam
Fold each leg, right sides together. Align the notches and the front and back crotch seam. I like to use wonder clips (affiliate link) to keep the fabric in place when sewing leggings, but regular pins work too (just make sure you don’t sew over them, and have them at an ample distance from your serger knives).

Make sure the crotch seams align
The back and front crotch seam should match up when sewing the inner leg seam.

Tip: Flip the front and back crotch seam allowances in opposite directions to minimise bulk.

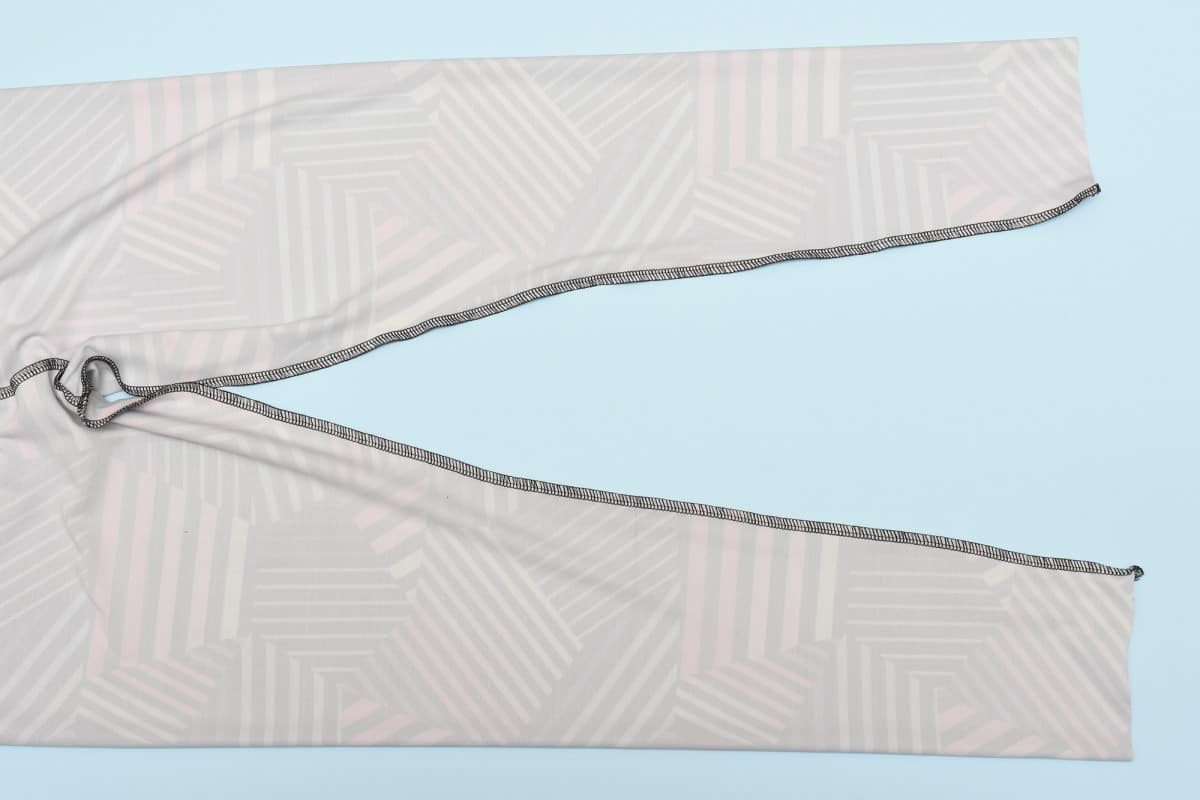
Sew the inseam
Stitch the inner leg seam, starting from one leg opening and going all the way to the other leg opening.

Now the legs of the legging are done! You can try them on now to make sure everything looks okay, and if you encounter some fit issues, check out my tutorial on how to fix common fitting issues when sewing leggings.
The next instalment of this Aila sew-along will be a tutorial on sewing the waistband of leggings

Aila Leggings Sew-Along
- Join the March #stitchactivewear sew-along!
- Video: Sewing Activewear Plans + Join My #stitchactivewear Sew-Along
- Best Fabric Choices for Workout Leggings: Aila Sew-Along
- Watch the replay: Live – How to Sew Activewear
- Sewing the Leggings Waistband: Aila Sew-Along
- How to Hem Leggings: Aila Sew-Along
- Video: Sew Your Best Leggings Ever
This post contains Amazon affiliate links, meaning that a commission is earned from qualifying purchases.
5 Comments
Comments are closed.